
Air Compressor Pressure Switch: Adjusting the Right Pressure
D & D Compressor is a team of experienced sales and maintenance professionals who know that maintaining the correct pressure settings in your air compressor adds to the safety of your workspace and the longevity of your equipment. The more you know about your compressor, the easier it is to take care of and the more enjoyment you’ll have while owning it. Something as minor as knowing how to manage and adjust the pressure switch can make the difference between a machine that lasts for decades and one that fails prematurely.
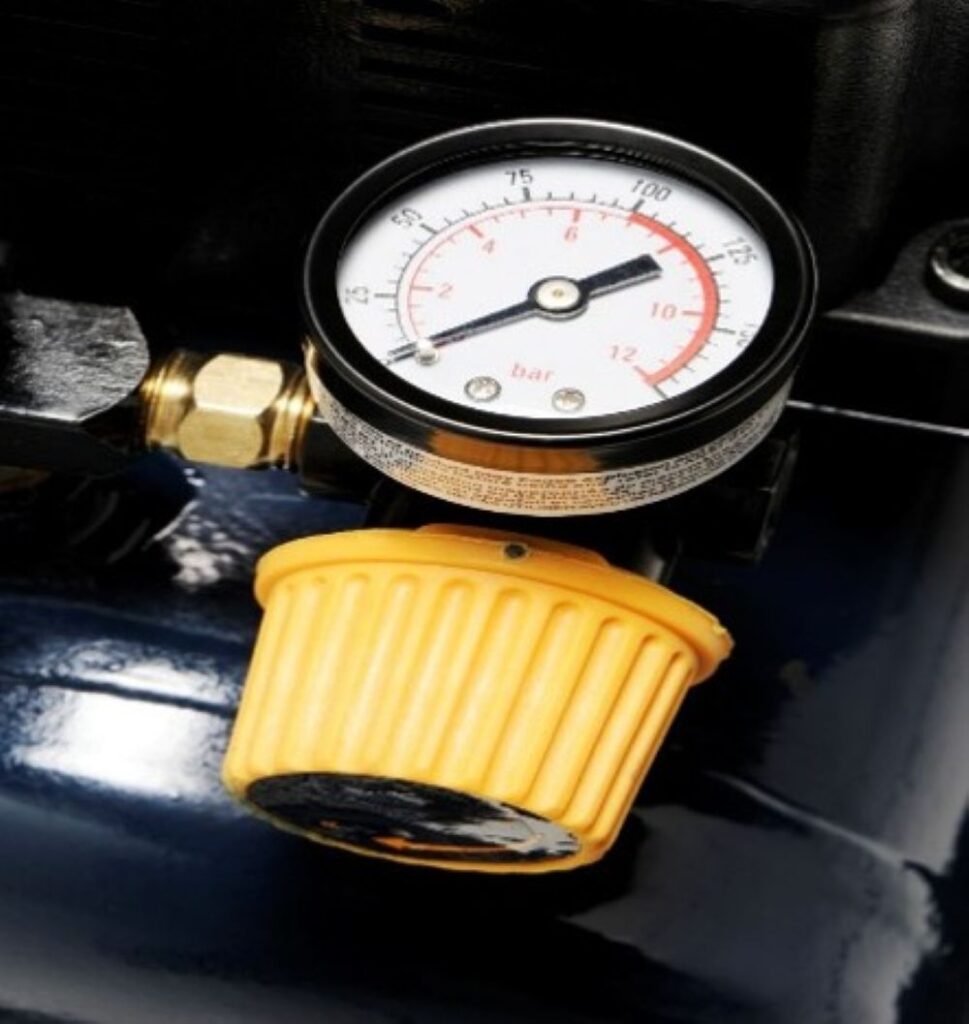
Understanding the Factory Settings: Cut-in and Cut-out
Before you even consider reaching for a screwdriver, you have to understand how your compressor operates, or why the motor runs and shuts down when it does. Most air compressors operate based on two fundamental pressure settings: the cut-in pressure and the cut-out pressure.
Cut-in Pressure
This is the low-pressure threshold. When you use your air tools, the pressure in the tank drops. Once it reaches this specific low point, the pressure switch engages the motor to start the compressor and refill the tank.
Cut-out Pressure
This is the high-pressure limit. As the compressor runs and fills the tank, the internal pressure rises. When it hits this pre-determined high point, the switch disengages the motor, stopping the compression process.
Manufacturers set these parameters at the factory to optimize the machine’s performance cycle. For example, a typical range might be a cut-in of 90 PSI and a cut-out of 120 PSI. This differential ensures the motor isn’t constantly cycling on and off, which would lead to overheating and excessive wear.
Why Safety Limits Matter
You might be tempted to crank up the pressure to get a little extra power for a stubborn tool. We strongly advise against this. The cut-out setting is programmed for a reason.
Every component of your air compressor system, from the tank and hoses to the fittings and the tools themselves, has a maximum pressure rating. The tank, in particular, is rated for a specific Maximum Allowable Working Pressure (MAWP). If you adjust the pressure switch to allow the compressor to build pressure beyond its rated limit, you risk catastrophic failure. It can also put a significant strain on the pump and motor, potentially leading to damage to various components, seals, and valves.
When Should You Adjust the Pressure Switch?
If the risks are so high, why would anyone need to adjust these settings? Generally, you shouldn’t, unless you’re replacing a faulty component. Pressure switches are mechanical parts that wear out over time. Eventually, the contacts may pit, or the springs may lose tension, requiring a replacement. If you purchase a new universal pressure switch, it will come with its own factory preset range; however, this range may not match your compressor’s specifications. In this scenario, the new switch must be calibrated to match the original specifications of your machine.
How to Adjust the Pressure Switch
If you’ve determined an adjustment is necessary, these are general steps that apply to most air compressors. Note that different switches have different internal mechanisms, but the principles remain largely the same.
- Safety First
Always disconnect the compressor from its power source. Never work on an electrical component while it’s live. Additionally, drain the air from the tank completely so the system is not under pressure while you work.
- Access the Switch
Remove the cover of the pressure switch. This usually involves loosening a single screw. Once the cover is off, you’ll see the internal springs and contacts.
- Identify the Adjustment Screws
Most standard pressure switches have two springs: a large primary spring and a smaller differential spring:
- The main spring typically controls the cut-out pressure and moves both the cut-in and cut-out points up or down simultaneously.
- The differential spring controls the difference between the cut-in and cut-out pressure. Adjusting this often only changes the cut-out point, effectively widening or narrowing the range between start and stop.
- Adjusting the Pressure
To increase the cut-out pressure, turn the nut on the main spring clockwise. To decrease it, turn it counterclockwise. If you need to change the the gap between the start and stop points, you’ll adjust the differential spring.
- Testing
This is a trial-and-error process. After making a minor adjustment, replace the cover, plug the unit back in, and run the compressor. Watch the pressure gauge closely to see where it shuts off. Drain air to see where it kicks back on. Repeat until the settings match the manufacturer’s specifications.
The Role of the Pressure Relief Valve
While discussing pressure switches, we must mention the air compressor pressure relief valve (often called the safety valve). This small component is the fail-safe of your system. It’s a spring-loaded valve set to open automatically if the tank pressure exceeds a safe level.
This safety valve opens to vent excess air, preventing the tank from over pressurizing if your pressure switch fails. Never tamper with, paint over, or cap the pressure relief valve. If you hear this valve popping off frequently, it’s a sign your pressure switch is set too high or is malfunctioning, and immediate maintenance is required.
Trust the Pros for Maintenance
Adjusting an air compressor switch or repairing an air compressor pressure reducer requires patience, a steady hand, and a clear understanding of pneumatic mechanics. Unless you’re confident in your ability to calibrate these settings safely, consider relying on professional service from qualified professionals like the team at D & D Compressor, Inc. We have the expertise to diagnose pressure issues, replace switches, and calibrate your system to factory-perfect standards.